As we enter Holy Week, my third week of online teaching/distance learning, and a brave new era of artist entrepreneurship in a tanking economy, this line from Madeleine L’Engle has come into my head at least once a day. Like Meg, I battle myself… angrily and often. I am stubborn, full of daydreams and high hopes, and I have a quiet (but hysterically strong) rebellious streak. All of L’Engle’s books were dear to me growing up . I still model my idea of family off of her Murrys and Austins, who gave me so much hope when I was younger.
What does it mean to see our flaws as gifts?
The thought stems from the same source as one of my favorite passages, “Behold, now is the acceptable time” (also a title of another wonderful book by L’Engle). We are imperfect creatures living in far from perfect circumstances. I am an imperfect creature. But, if I can abide in myself, if I can abide in this place (and I don’t have much choice, right now at least!), perhaps I can learn to love a little better. It is not license to wallow in weakness, but the ability to see weakness as an opportunity for growth and a reminder to be humble. What a beautiful paradox!
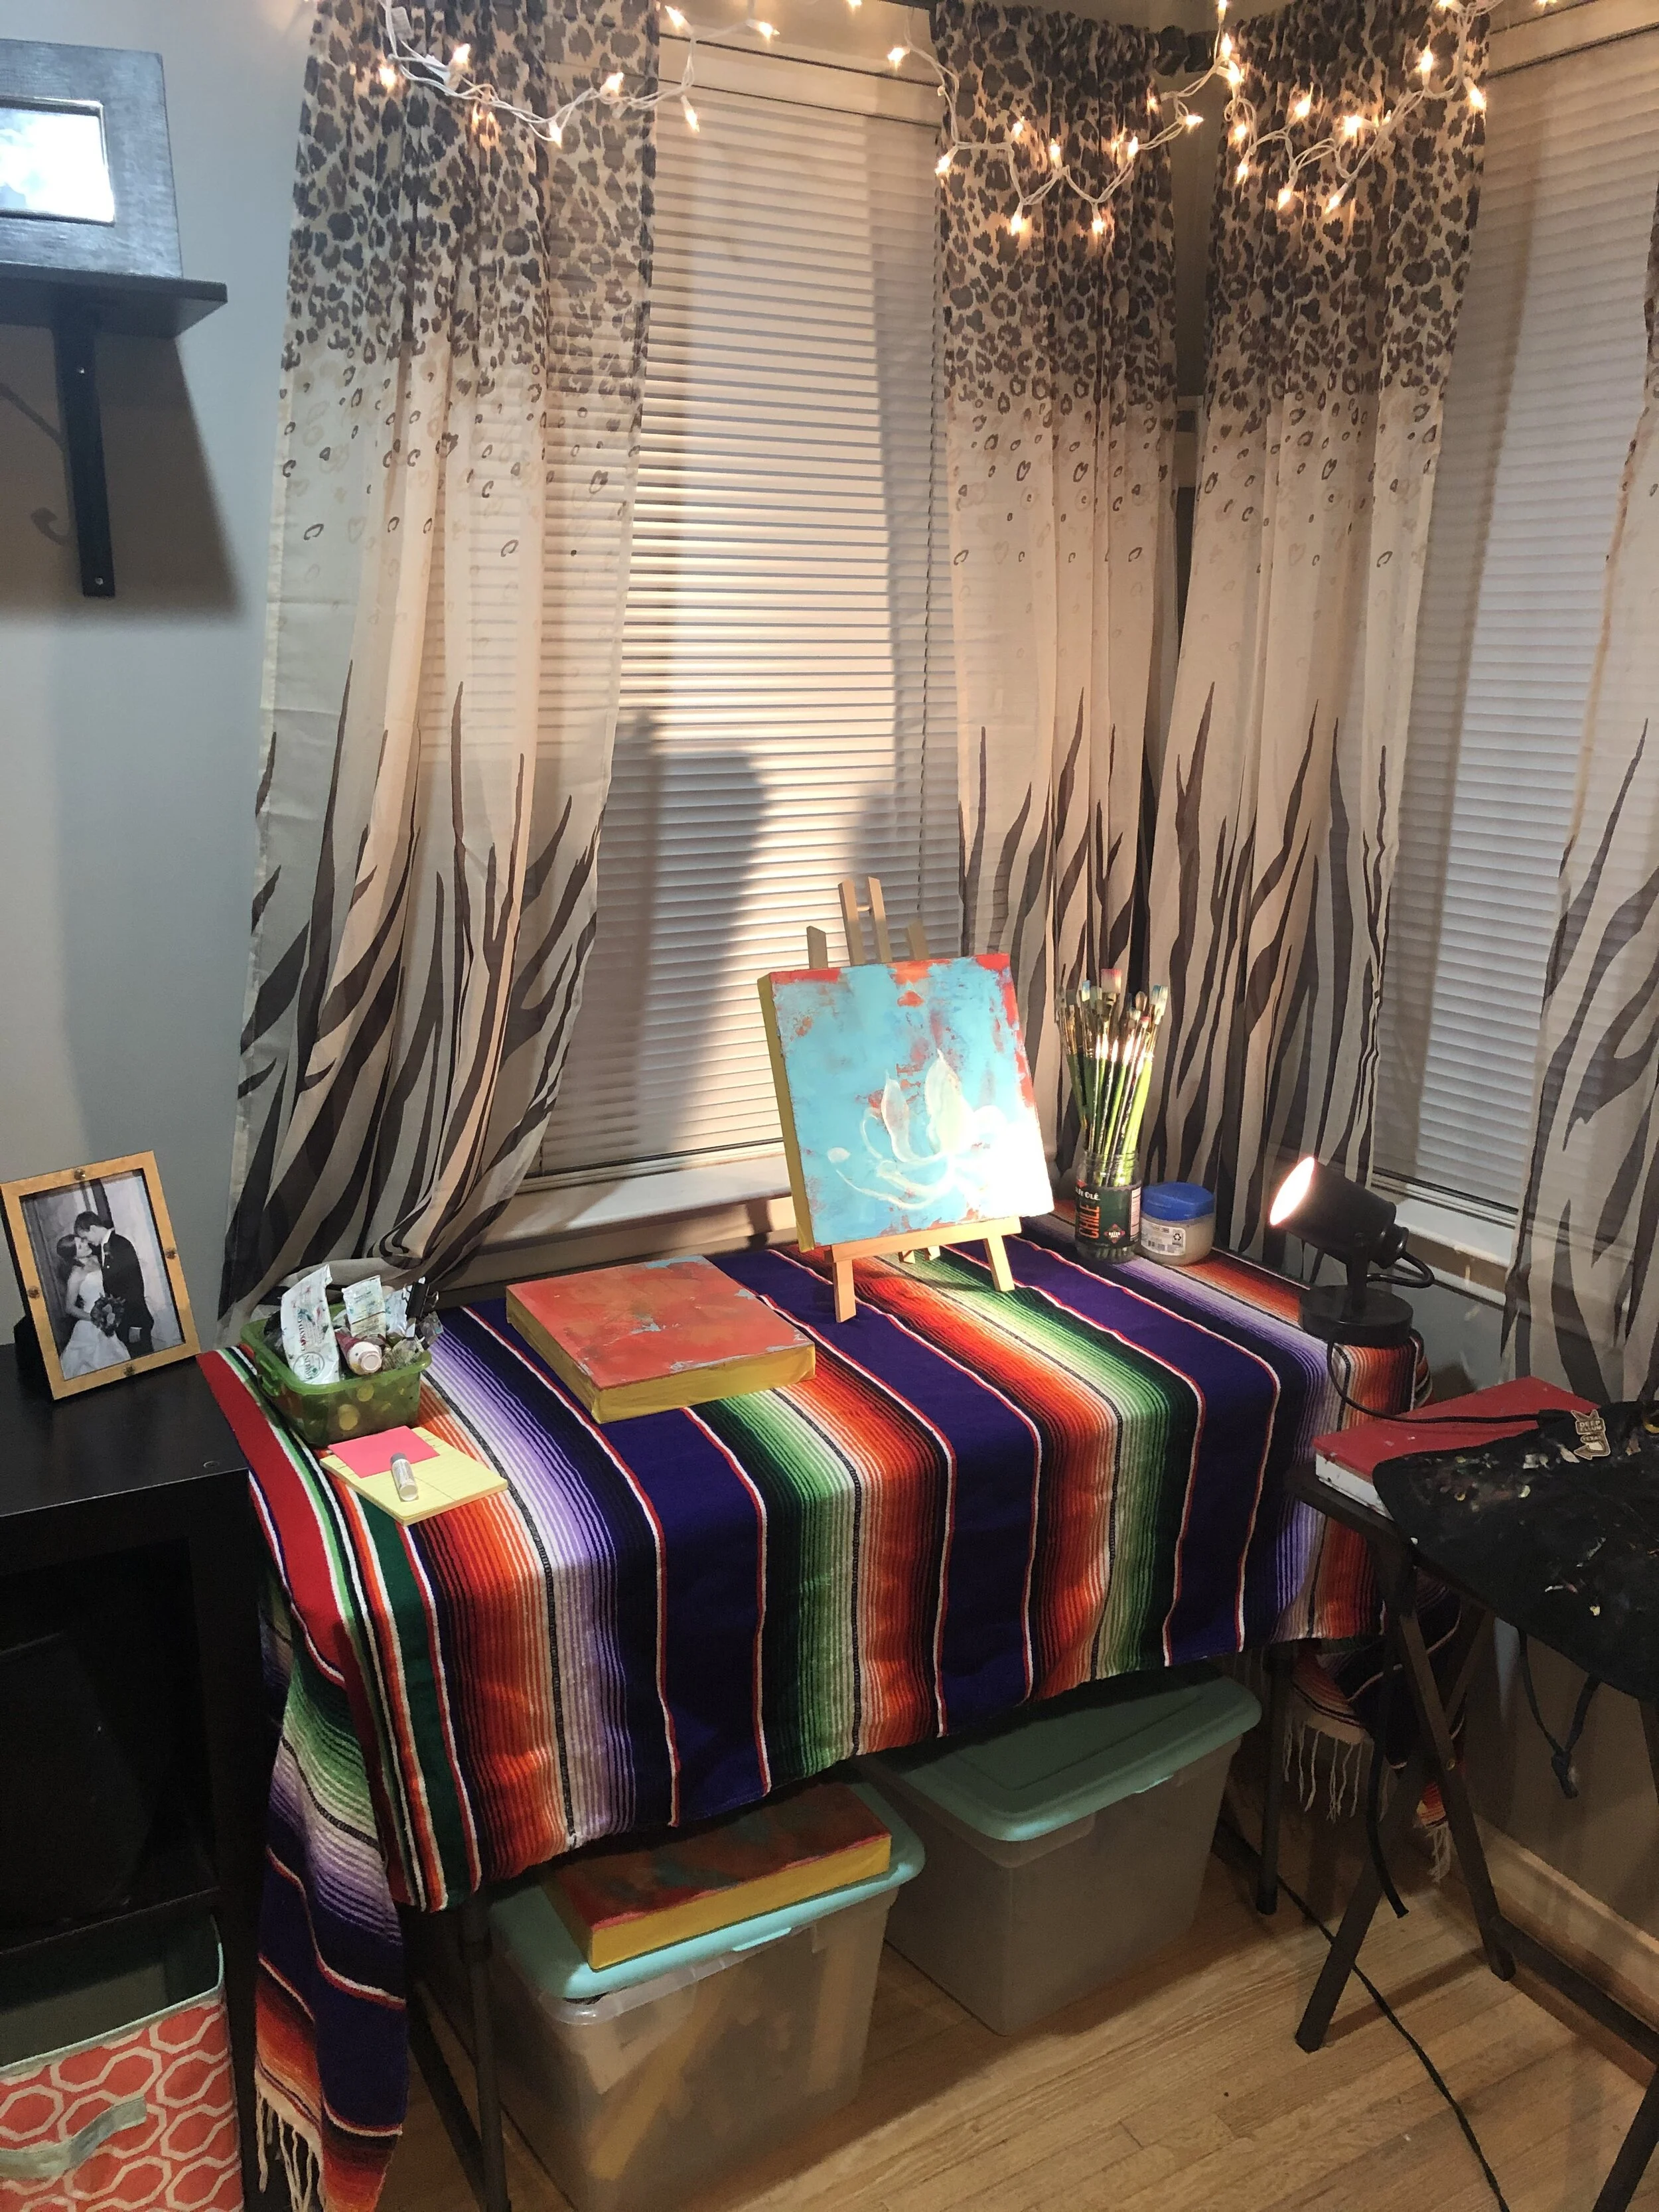
And that sentiment leads me to the more concrete things. While I managed to get my home-studio set up, I have woefully neglected my paintings this past week. I’ve had the loftiest aspirations of creating all the family-art projects we never have time for when I’m working 13 hour days, but of course I am lucky if I can manage my classes and ensure my own children are submitting their assignments online. We’ve all watched a bit too much TV and spent (maybe) a little too much time in pajamas. The snuggles are pretty great, though.
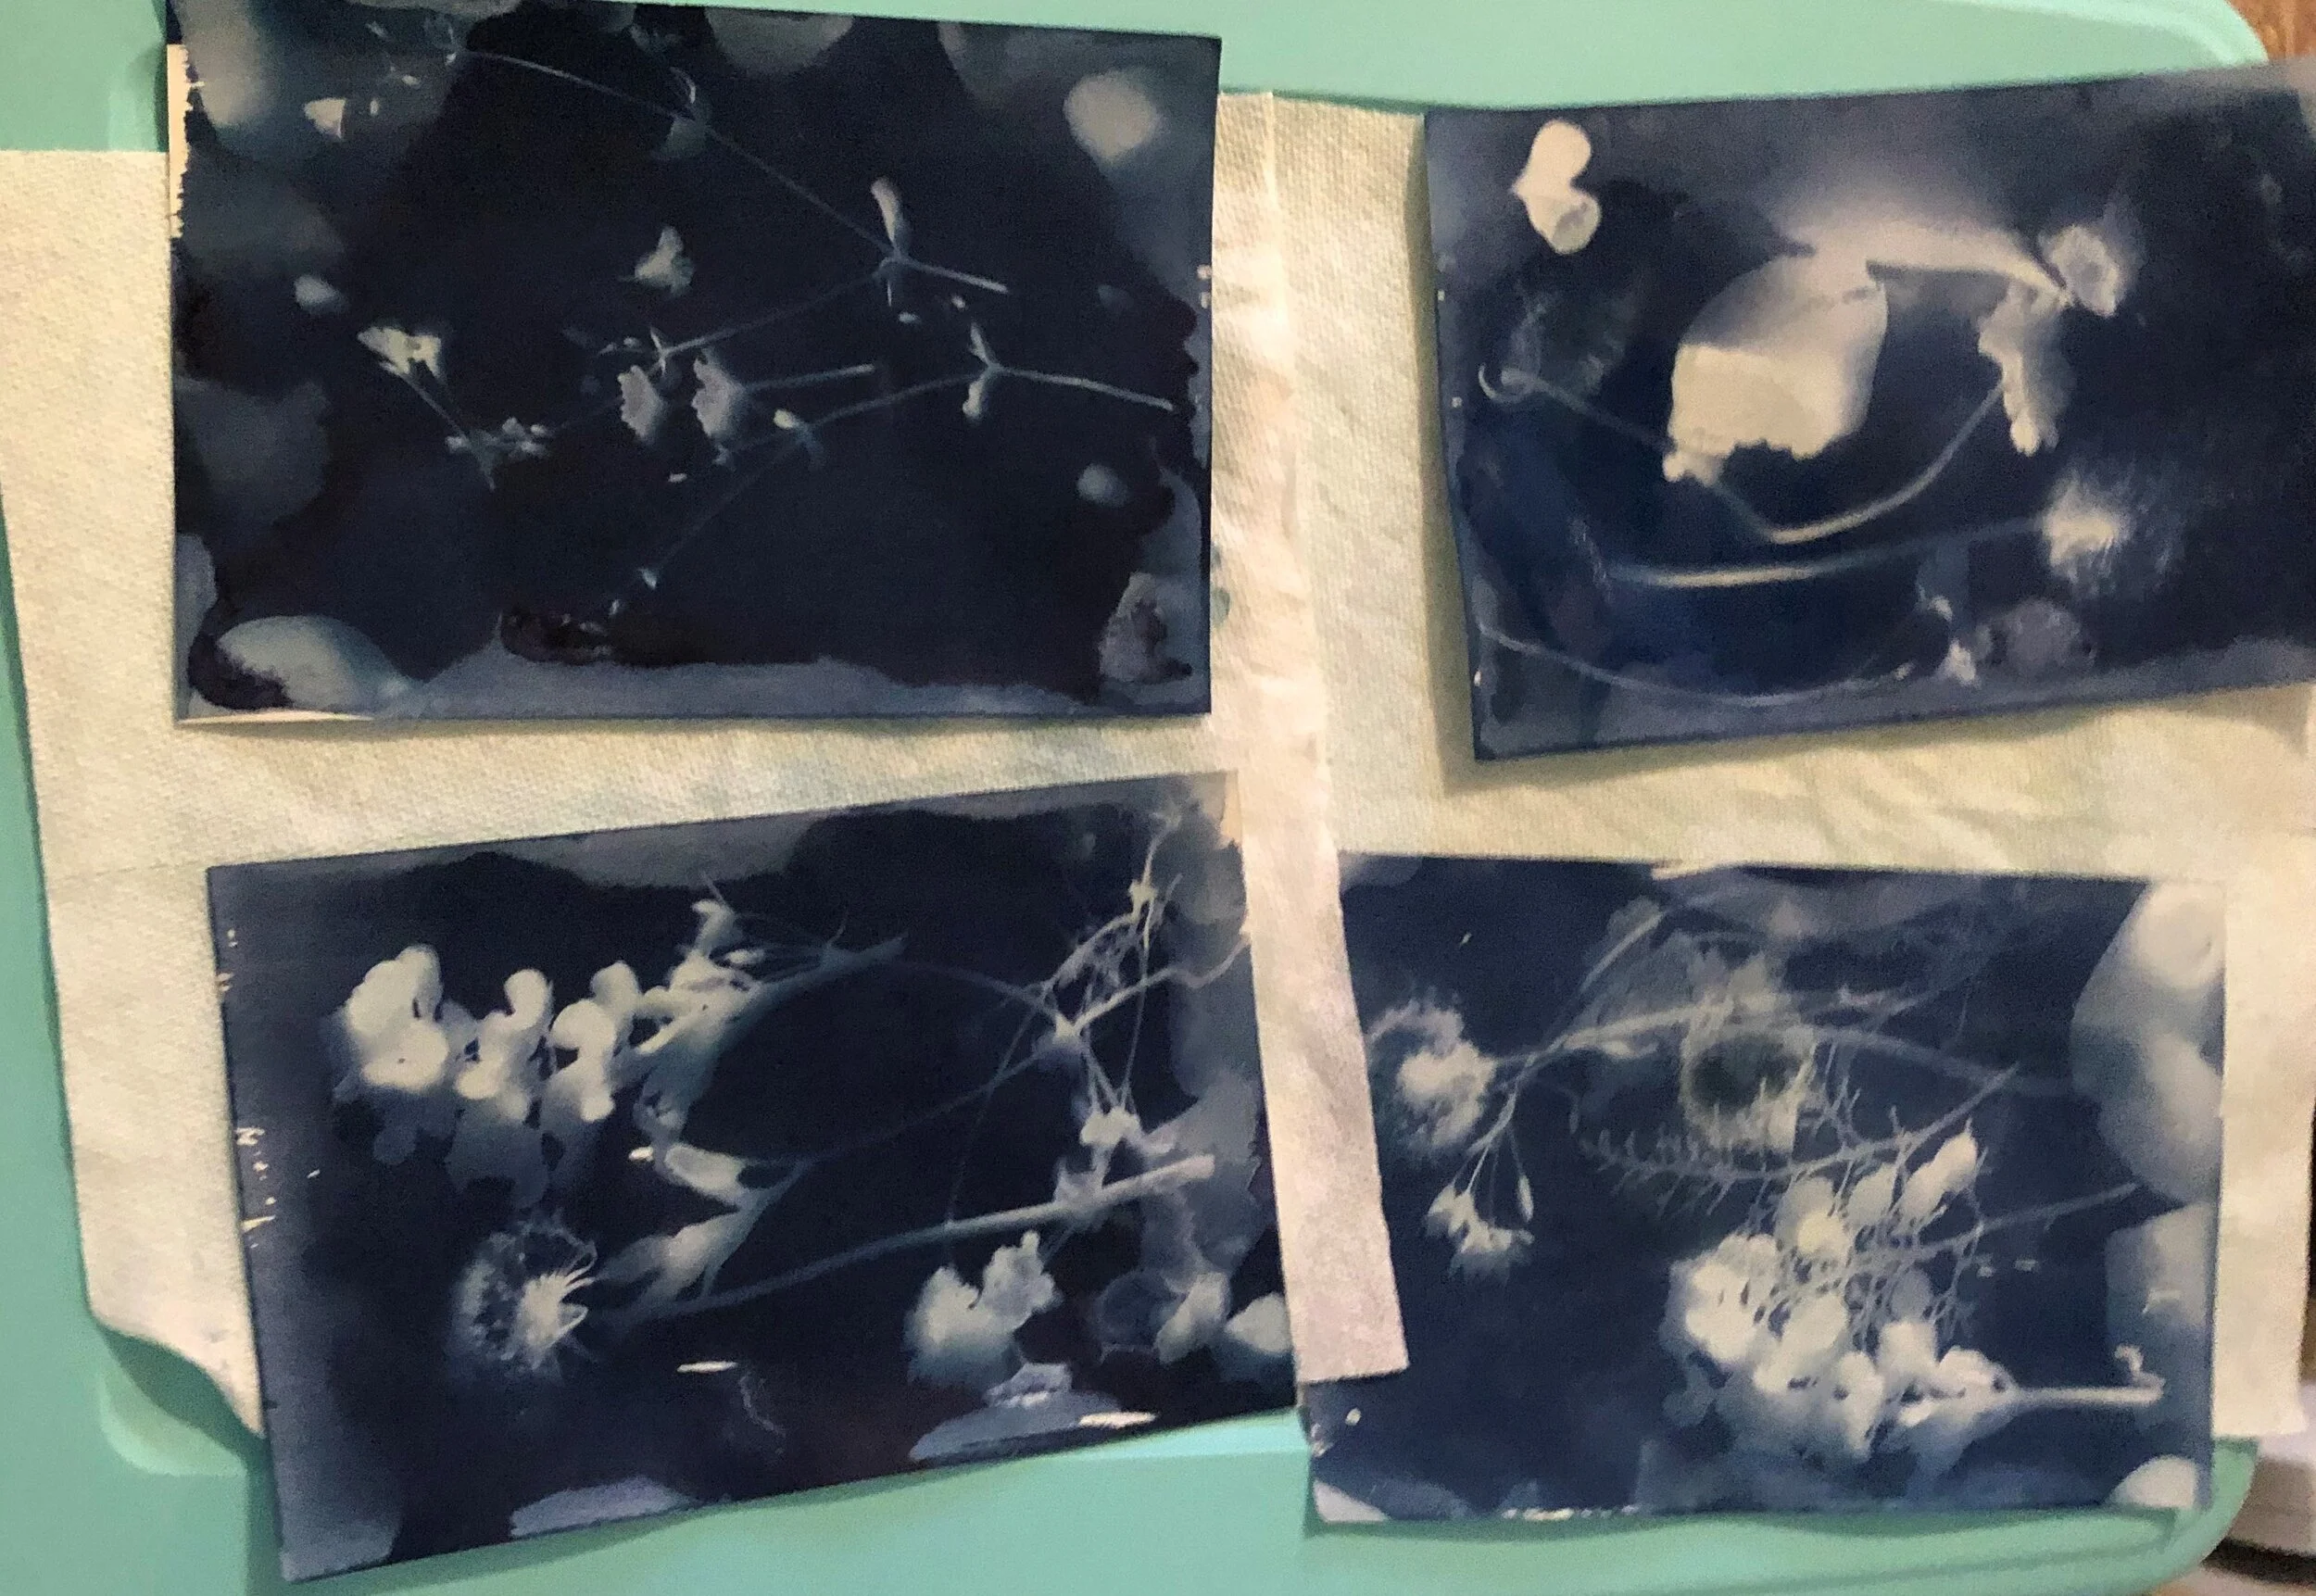
One thing we found time for was a simple, cyanotype lesson. My kids loved the process of sensitizing the paper and creating the exposure, then washing the paper to make the vivid blue appear. I’ve linked to the materials we used when we did this at home. We prepped some watercolor paper with cyanotype solution and made prints from flowers that were growing wild around our neighborhood. Exercising outside is one of the few things we can do, so a nature walk was perfect. Scavenging for items and arranging the compositions was a lot of fun, and the process is easy and inexpensive. It proved a nice diversion on a sunny, Spring day in Dallas.
After we found our objects, we used pieces of glass (borrowed from picture frames) to hold the materials in place on top of the paper in direct sunlight while the photo-reaction took place. In the photo below, I used transparency paper to show another way to hold everything in place if you don’t have glass available. We exposed our paper in the sun for about five minutes, then we removed the objects from our paper and washed the paper in the sink with cold water. My kids were skeptical until they saw the bright cyan appear like magic under the running water- their exclamations of surprise were my favorite part of this activity.
Now that my “studio” is set up, I am working on a few under-paintings on plaster in my makeshift space. Magnolias seem appropriate: they bloom massive and dramatic, and fleeting. In a day or so, the white petals turn brown and recede into the leaves. The first few layers of these paintings are delicate, oil on plaster in thin coats. I burnish the oil into the plaster, teasing the highlights out of the imprimatura. The painting looks like I feel these days… indistinct. I’m learning to be ok with that sense of floating out of time, with the unknowns. “Turning and turning…” Impermanence can be a comfort. This too shall pass. All will be well, and all manner of things will be well.


Easy Cyanotype Prints
Materials
Watercolor Paper (or other heavy paper)
Sponge Brush (or other brush, use what you have!)
Measuring cups (anything that will allow you to mix a precise ratio of the solution)
Silhouette objects (leaves, flowers, berries, etc)
Glass, Plexiglas or transparency paper (to keep your objects from blowing away)
Rocks or other objects to your paper in place during the reactions
Cool water
Sunlight
Process:
Step 1: Prepare your paper
Cut your paper to the desired size. You want your paper to be slightly smaller than the glass or transparency paper that you will use during the reaction. I recommend preparing several pieces at once. You can store the prepared paper in a dark place until you are ready to use it.
In a dark room, pour equal parts of your cyanotype solution into two measuring cups, then combine them and stir until well mixed. A bathroom with the lights off and the door closed works great! A little solution goes a long way. If you use 2 oz of part A and part B, you’ll have enough to prep several 8 x 10 pieces of paper.
Once your solution is mixed, use a sponge brush to lightly and evenly coat one side of your watercolor paper. The paper should turn an acidic yellow/green. Prepare all of your paper, then set it aside in the dark to dry. A bathroom cabinet makes a great place to put the paper while it dries. Drying time is approximately 30 minutes.
Step 2: Gather your silhouette objects
This is the perfect activity while you wait for your paper to dry! My kids and I took a stroll through the neighborhood and rummaged around our yard for anything with an interesting perimeter: leaves, wildflowers, berries, dandelions… You can also use an x-acto knife and cut out magazine silhouettes if you want to try something different. My art students enjoyed looking through old National Geographic magazines for vintage letters and silhouettes of animals to incorporate into their designs. Remember, the photo process only shows positive/negative space, so you need your silhouettes to be precise if you are cutting them out.
Step 3: Plan your composition
The reaction starts as soon as you expose your treated paper to light, so it’s helpful to plan ahead. Think about how you want to arrange your objects, or, if you want to embrace chaos, you can just throw em down on the paper and see what happens. Either way, though, it’s helpful to know where you want your objects to go before you head outside.
Step 4: Expose the paper
Gather your silhouette objects, glass or transparency paper, treated watercolor paper, and something to weigh everything down and head outside! Pick a sunny spot. Now you have to work quickly: as soon as the light hits your paper, the reaction starts.
Place your paper on the ground, greenish side up. Lay out your silhouette objects on top of the paper. Then lay your glass or transparency on top of everything, like a delicious art-sandwich. Put rocks on the edges to weigh your paper down so it doesn’t blow away during the reaction (shoes work too, in a pinch- but make sure you don’t get any unwanted shadows!). Now step back and watch as the reaction takes place! In the Texas sun, the reaction takes about 7 minutes. Allow longer in winter. On a cloudy day, the reaction will not work. The reaction is finished when the exposed areas of your paper paper turn from yellow green to a deep, dull blue.
Step 5: Process your print
Carefully disassemble your “art-sandwich” and take your watercolor paper inside. Carry it face down so you don’t expose any unwanted areas. Rinse the paper in cool water to oxidize it. You may use a tub of water or run cool tap water over your paper. Your paper will immediately begin to turn bright blue in all the areas that were exposed to the sun! Allow your paper to dry in a flat place and wash your hands.
These prints are so simple and quick, especially if you prepare a batch of paper ahead of time. They’d make great gifts if you frame them, and I like the idea of incorporating them into mixed media projects. You could even do silhouette hand prints or foot prints. If you decide to try this project, let me know how it goes!
